Only a few images of Northern Lights were posted previously for three reasons: 1) It was difficult to post our blog at will because of WIFI limitations, 2) Lars had not developed consistent post imaging processing for these Northern Lights images, and 3) Time to develop consistent reprocessing parameters for these images would have been stolen from enjoying the passing Arctic scenery. The 7.5-8.0 hour flight from Reykjavik to Denver provided Lars the concentrated time to develop consistent processing parameters and apply them to all 100+ Northern Lights images.
Improved processing of the Northern Lights images was needed because the ship’s deck was much too well-lighted for imaging of Northern Lights, resulting in abundant light pollution of the images. This light pollution reduced the contrast and color saturation in these images of the Northern Lights. This was corrected for in post processing, resulting in images that are more like what would have been taken from a non-light polluted dark location. Light pollution from nearby towns is not removed and is seen in many images.
We have Northern Lights images from three nights, 15, 16 and 18 February 2015. Images from each night are presented separately, with commentary specific to each night’s images.
Notice: You are welcome to download any of these images of Northern Lights, so long as it is for your personal enjoyment. Instructions for downloading are given at end of each night’s collection of images.
Night of 16 February 2015
Images from 15 February 2015 were taken with 15 to 13 second exposure & ISO 3200 with camera on tripod. These images were taken with an 18,8mm focal length wide angle lens on a Canon Rebel 5 Digital SLR camera. All imaging was from bow of MS Finnmarken in smoother seas and much less wind than on first night.
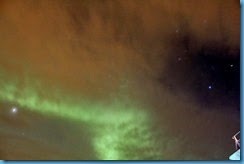
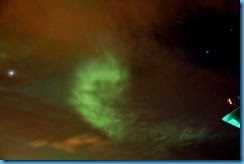
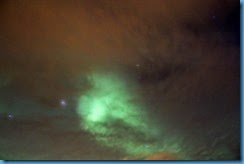
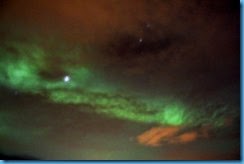
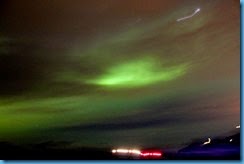
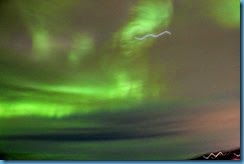
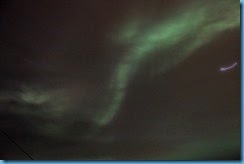
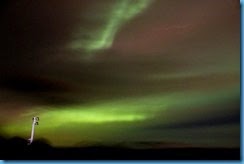
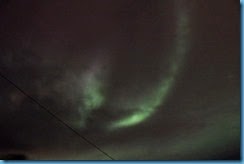
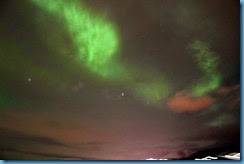
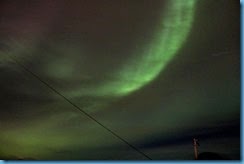
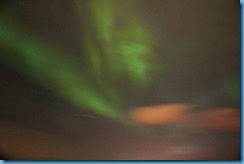
A wide variety of Northern Lights structures were seen and imaged on this night. Many of the images contain complex blue squiggles – these are stars, or sometimes a planet, and the squiggles show movement of the ship during the 15-13 second exposures and give good estimates of how much images of Northern Lights have been blurred by wave-induced motion of the ship (much less on this night than on first night). However, some images have wavy blue lines that resulted from the ship changing direction. In addition, the Northern Lights were usually changing shape and/or brightness during 15-13 seconds – sometimes only one good image could be taken before a particular Northern Lights feature faded.The Northern Lights displays changed more rapidly on this night than on first night. Lars was often moving camera to image a new area, as one would fade and another appear some distance away.
Some of these images contain brighter reddish-brown blobs and broad areas that are clouds illuminated by lights from small towns. On this night the clouds were thin allowing Northern Lights to show through. Some black areas with small blue squiggles are areas of clear sky.
The bright whitish spot in these and some other images is a planet (Jupiter?)
NOTICE: These images were taken sequentially during this night’s display of Northern Lights. The higher the IMG_XXX number the later the image was taken. Not every image taken is presented here.
The following 4 images show clear evidence of smearing as result of the ship changing direction. The first 3 have wavy blue lines describing the amount of smear, as do some bright white and red ground-based smears.
After the rapidly changing Northern Lights features shown above had faded, this relatively longer lasting feature appeared. The dark features are clouds seen against a brighter high altitude sky (weak Northern Lights effects?)
TO DOWNLOAD IMAGES (works on our Windows Vers. 7 & 8)
1) Place cursor on image, which should result in Image ID number to display, such as IMG_556_1.
2)Then left mouse click to get full sized image.
3) Right mouse click on full sized image should get box with option to “Save Image As”.
4) Then left mouse click on “Save Image As” to save image at whatever location you desire in your computer.

No comments:
Post a Comment